更新用户界面
This is the third part of the Getting started with Kotlin Multiplatform for mobile tutorial. Before proceeding, make sure you've completed previous steps.
![]() Set up an environment
Set up an environment
![]() Create your first cross-platform app
Create your first cross-platform app
![]() Update the user interface
Update the user interface
![]() Add dependencies
Add dependencies
![]() Share more logic
Share more logic
![]() Wrap up your project
Wrap up your project
To build the user interface, you'll use the Jetpack Compose toolkit
for the Android part of your project and SwiftUI for the iOS one.
These are both declarative UI frameworks, and you'll see similarities in the UI implementations. In both cases,
you store the data in the phrases variable and later iterate over it to produce a list of Text items.
Update the Android module
The androidApp module contains an Android application, defines its main activity and the UI views, and uses the
shared module as a regular Android library. The UI of the application uses the Jetpack Compose framework.
Make some changes and see how it is reflected in the UI:
- Navigate to the
MainActivity.ktfile inandroidApp. - Find the
Greetingclass invocation. Select thegreet()function and use the Cmd + B shortcut. You'll see that it's the same class from thesharedmodule you edited in the previous step. In
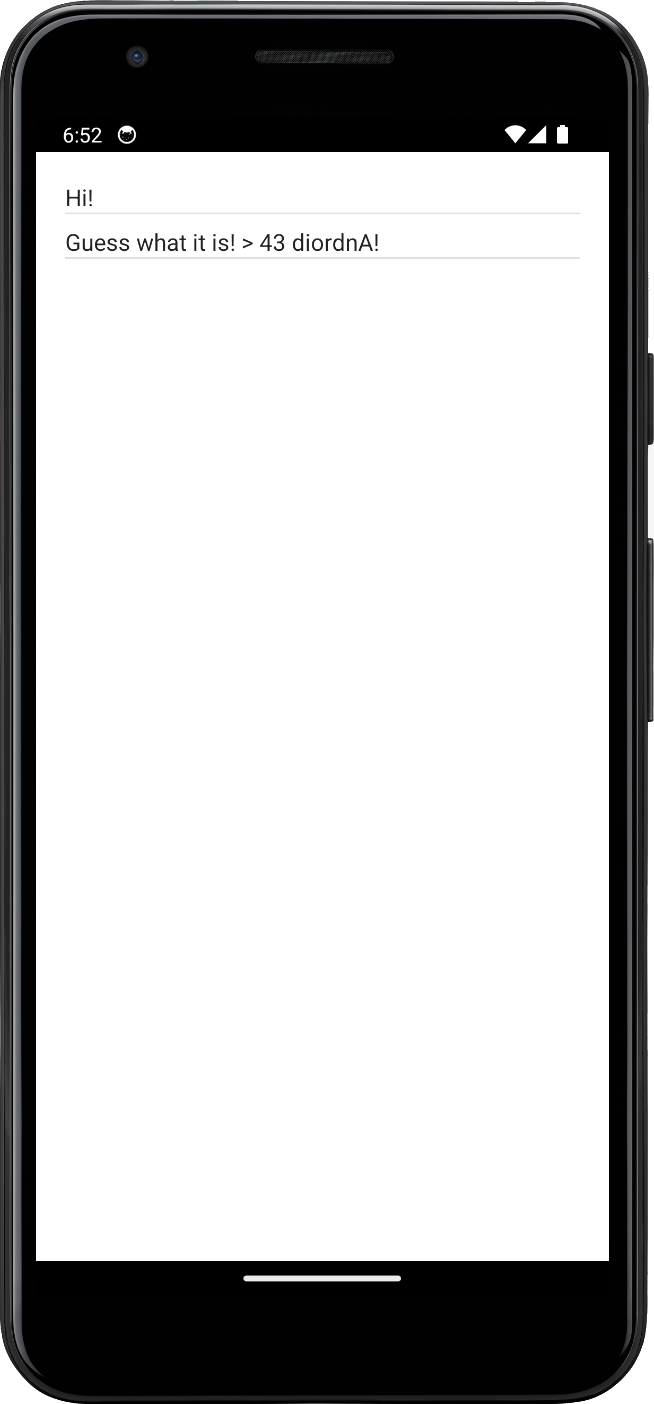
Greeting.kt, update thegreet()function:fun greet(): List<String> = buildList { add(if (Random.nextBoolean()) "Hi!" else "Hello!") add("Guess what it is! > ${platform.name.reversed()}!") }Now it returns a list of strings.
Go back to
MainActivity.kt. As you can see, it doesn't compile anymore because theGreetingViewcomposable expects aStringargument. Update its definition:@Composable fun GreetingView(phrases: List<String>) { LazyColumn( contentPadding = PaddingValues(20.dp), verticalArrangement = Arrangement.spacedBy(8.dp), ) { items(phrases) { phrase -> Text(phrase) Divider() } } }Here the
LazyColumncomposable shows the list ofTextitems, adds padding around the content and a space between the list items.Follow Android Studio's suggestions to import the missing dependencies.
Update the preview as well, passing a list as an argument:
@Preview
@Composable
fun DefaultPreview() {
    MyApplicationTheme {
        Greeting(listOf("Hello, Android!"))
    }
}
Now you can run the Android app to ensure it displays the list:
Work with the iOS module in Xcode
iosApp is an Xcode project that builds into an iOS application. It depends on and uses the shared module as an iOS
framework. The UI of the app is written in Swift.
Implement the same changes as in the Android app:
- Launch Xcode. Select Open a project or file.
- Navigate to your project, for example KotlinMultiplatformSandbox, and select the
iosAppfolder. Click Open. In the
ContenView.swiftfile, select thegreet()function and use the ⌃ + Cmd shortcut.You'll see the Objective-C declarations for the Kotlin functions defined in the
sharedmodule. Kotlin types are represented as Objective-C types when used from Objective-C/Swift. Here thegreet()function returnsList<String>in Kotlin and is seen from Swift as returningNSArray<NSString>. For more on type mappings, see Interoperability with Swift/Objective-C.If you try running the project, the build will fail. As in the Android app earlier, the Swift code that uses the
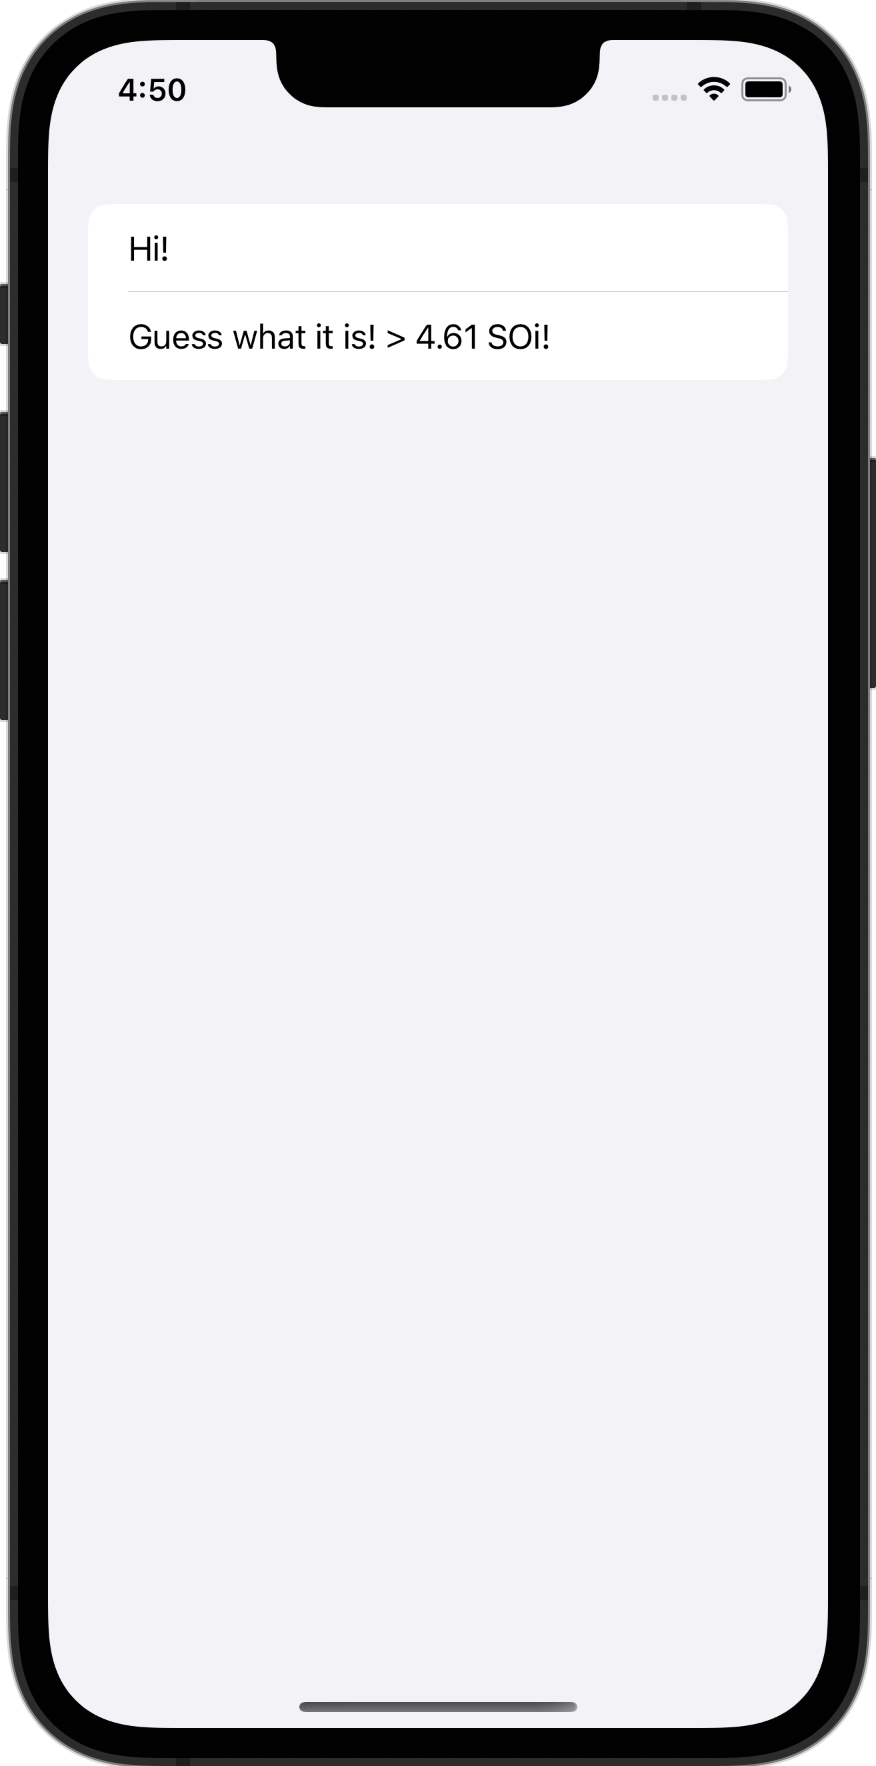
greet()function doesn't compile because its declaration is different now. Change the SwiftUI code to display a list of items:struct ContentView: View { let phrases = Greeting().greet() var body: some View { List(phrases, id: \.self) { Text($0) } } }- The results of the
greet()call are stored in thephrasesvariable (letin Swift is similar to Kotlin'sval). - The
Listfunction produces a list ofTextitems.
- The results of the
Run the app to see the changes:
Next step
In the next part of the tutorial, you'll learn about dependencies and add a third-party library to expand the functionality of your project.
Get help
- Kotlin Slack. Get an invite and join the #multiplatform channel.
- Kotlin issue tracker. Report a new issue.